Thursday, May 27, 2010

First Strip Installed

After all the difficulties with the forms...after the trials and tribulations of getting wood cut...after all the worry about what mistakes are left to make...after making sure I got the book-matched strips in order...

I installed the first strip!!!!
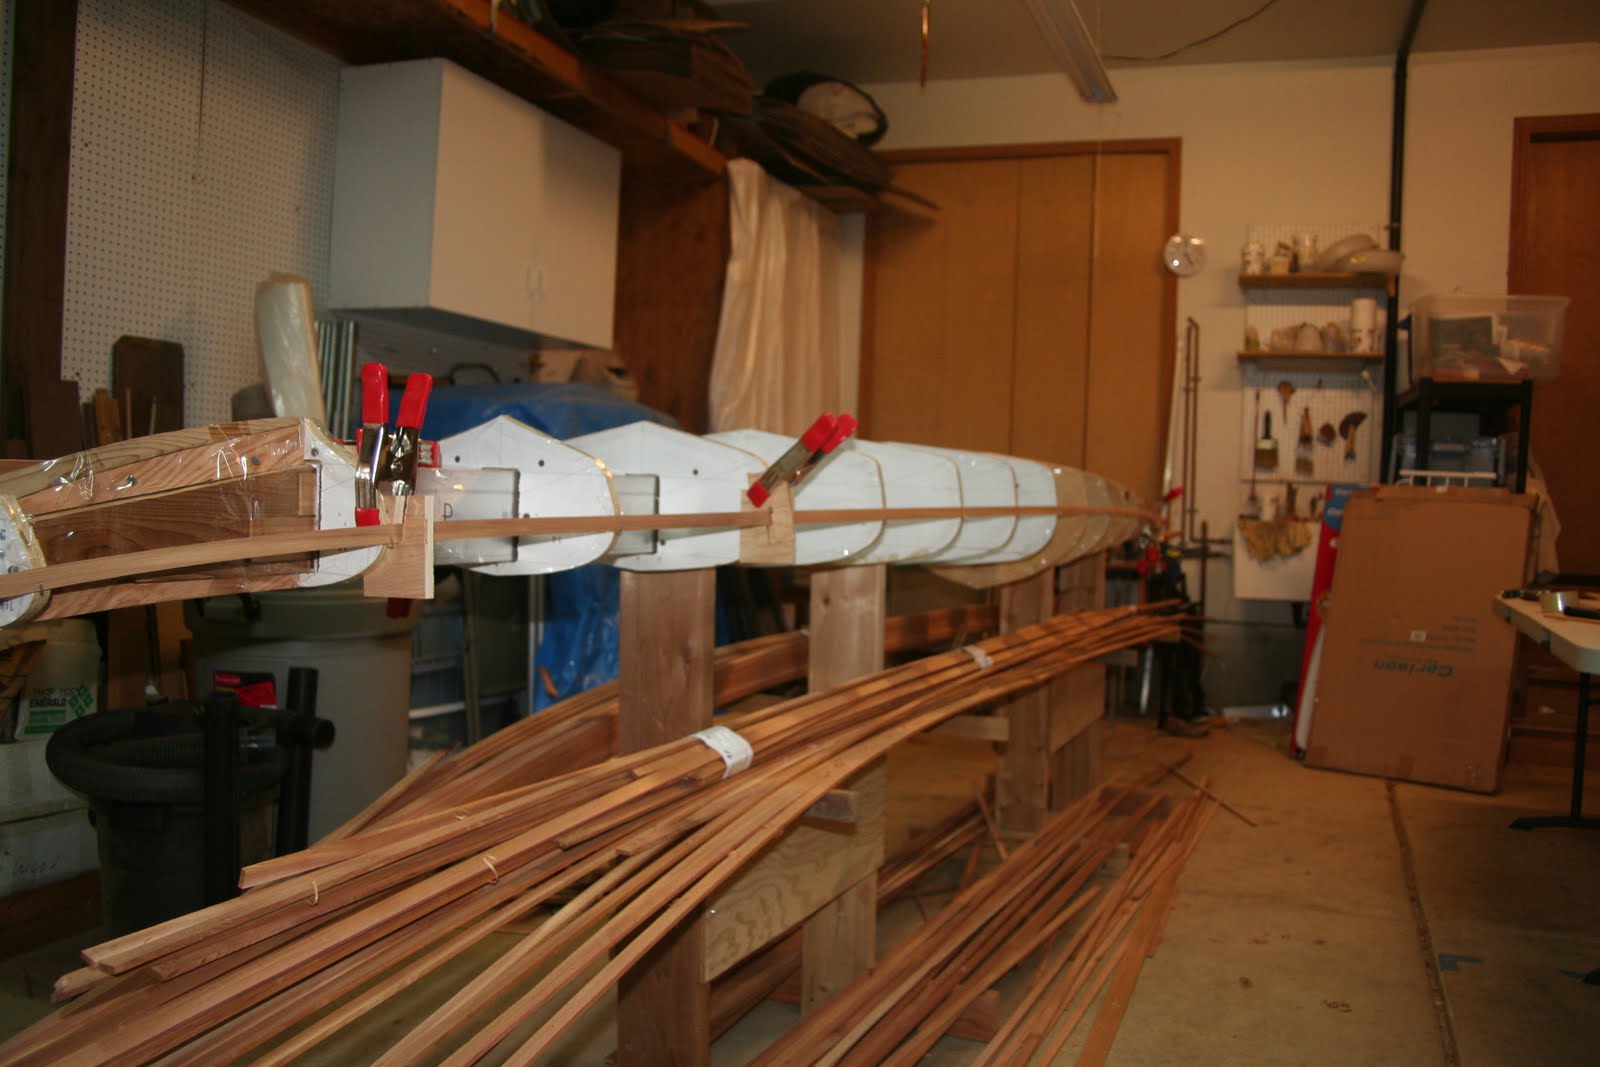
The first strip

I started by doing a bevel that approximately matches 1/2 of what is required where the deck meets the hull. Then, using clamps and plywood holders I positioned the strip, eye-balled it for fairness, then started stapling.

Another view

This was actually much easier than I thought it might be.

I expected bending the strip along the shear line to be more challenging than it was. I hit the strip with a heat gun while pulling/pushing it into the required shape. After a few minutes, it started bending easier. With clamps, plywood holders, and staples it behaved reasonably well. Some of the staples don't want to hold, so I'm hoping to get some additional strips on soon.


Bend at the bow


For those wondering and who have not read my other posts:


  • Guillemot - plans purchased from Guillemot Kayaks

  • Book matched western red cedar - I found a great board at a local home improvement store. One of the advantages of living in the Pacific Northwest.

  • Internal strongback - I'll probably use an external strongback on my next boat.

  • Staples - it's my first boat, I didn't want to bite off more than I could chew.

  • Rolling bevel - I've started fitting the second strip on each side and finding this easier than I thought it would be.

  • Internal and external stems.

  • Titebond II.

Wednesday, May 26, 2010

A Practice Project

Pilot the Dog

This 50 pound bundle of mischief joined the clan in November. One of his hobbies is chewing up any telephone, remote control, or game controller left unattended. Since this is my first strip-built anything, I decided I should try a small project first. I settled on a box we can hang on the wall in our TV room that keeps the remotes handy yet still out of Pilot's reach.

Wall box under construction

Building this box gave me some practice stapling strips, beveling the strips to go around the curve, and gluing strips together. The box is now constructed and is awaiting final sanding and a coat of varnish. The most important lesson I learned is that it is easy to get carried away with the plane when beveling the edge of a strip. Something I don't want to do on the boat!.

The Final Cut and Milling Flat Edges

Cutting the double-wide strips lengthwise proved to be an easy task. I used a couple of feather boards to hold the strip down and another to hold it against the saw fence. I probably spent about a minute on each strip.

.

Router set-up for milling flat edges

Once the strips were to their final width of 3/4", I needed to get the edges flat and smooth. So I set my router up as a joiner. I made an auxiliary fence from a piece of MDF. I routed a 1/64" groove on the infeed side and set a straight cut bit flush with the outfeed side. Each strip went through one time for each side. As shown in the photo, I used feather boards to hold the strip tight against the fence and tight against the router table. The corners of the edges ended up so sharp that I actually cut my thumb a time or two.

Sunday, May 02, 2010

$22 Worth of Cedar

Late last fall, I discovered that Jerry's Home Improvement carried cedar landscape boards. These are basically very, very low grade 2x12 boards suitable for raised beds. I also discovered that in the stack of rotten, loose-knot boards, there were a few that might be considered tight-knot. I bought a 10-footer as a test and put it in my garage. A few weeks ago, I discovered they had lengths up to 20 feet. So I took a gamble and spent $22 on an 18 footer in hopes that I would get something I could at least get a few strips out of for the shear strips.

After an hour or so going through the stack of boards, I was able to extract what appeared to be a hidden gem. I loaded the soaking thing on top of my car and carefully drove home with it.

In trying to cut the 10 footer, I discovered I was a little out of my depth with the table saw and decided I would need someone with more experience and a better saw to do the cutting. Last night one of my neighbors, who just happens to be a woodworker/carpenter, told me to tote the board over to his house. I carried the strips home about an hour and a half later. I don't think I could be happier about how they turned out. There is very little waste and the color is beautiful.

These strips are 1/4 inch thick and just over 1 1/2 inches wide. To use them for the kayak I'll have to cut them into 3/4 inch wide strips and run the edges across my router table set up as a jointer.


Close-up of boards.


Closer close-up of boards.